

HTML Callout
An HTML Callout is an HTML-based widget that RPA developers can use to build a callout using HTML, CSS, and JavaScript code. This will give the developers maximum control over callout appearance and behavior.
Add AS Snippet
This is supported for Automation Studio version 7.9 and above.
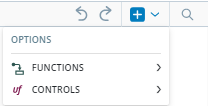
Click the Add AS Snippet icon  at the top-right corner of the HTML Callout window to open the AS Snippets. You can use the following AS snippets to insert into the code and change the values to design the callouts:
-
Functions: There are two functions available:
-
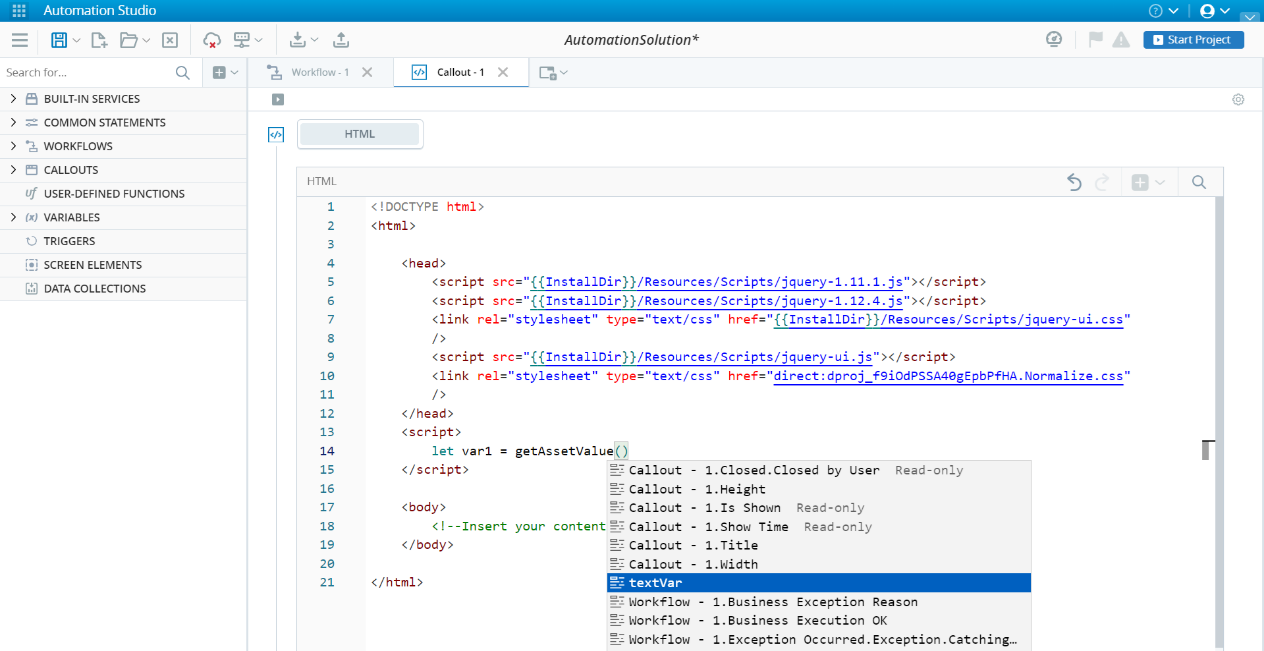
getAssetValue(): To get a value from the Asset Panel.
For example, use this function to interact with any Automation Studio Assets and their properties, such as Workflow, Callout, Screen Elements, Imported Packages, etc. It takes in one parameter.
Type the initial characters of a function name, and IntelliSense will display a list of relevant suggestions to help streamline your coding process.
Upon selecting a function name, IntelliSense will present a list of available assets within the current solution. You can choose any of these assets, as shown in the example where textVar is selected.
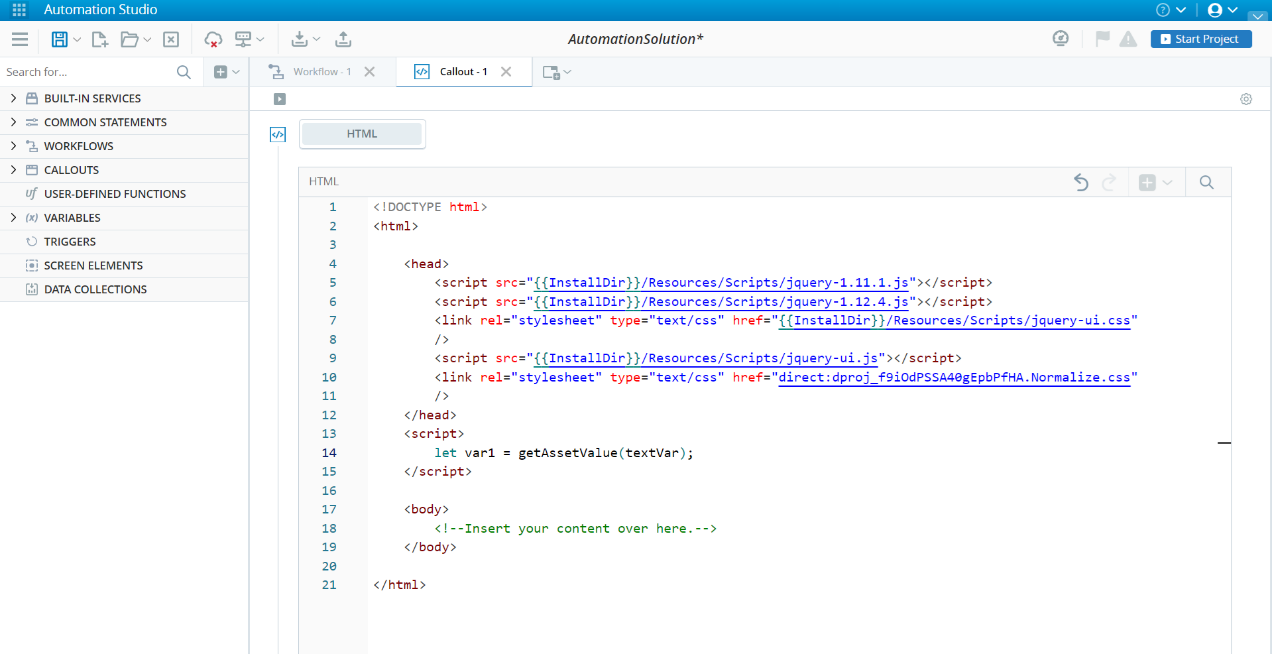
The selected asset value can be consumed in javascript code.
-
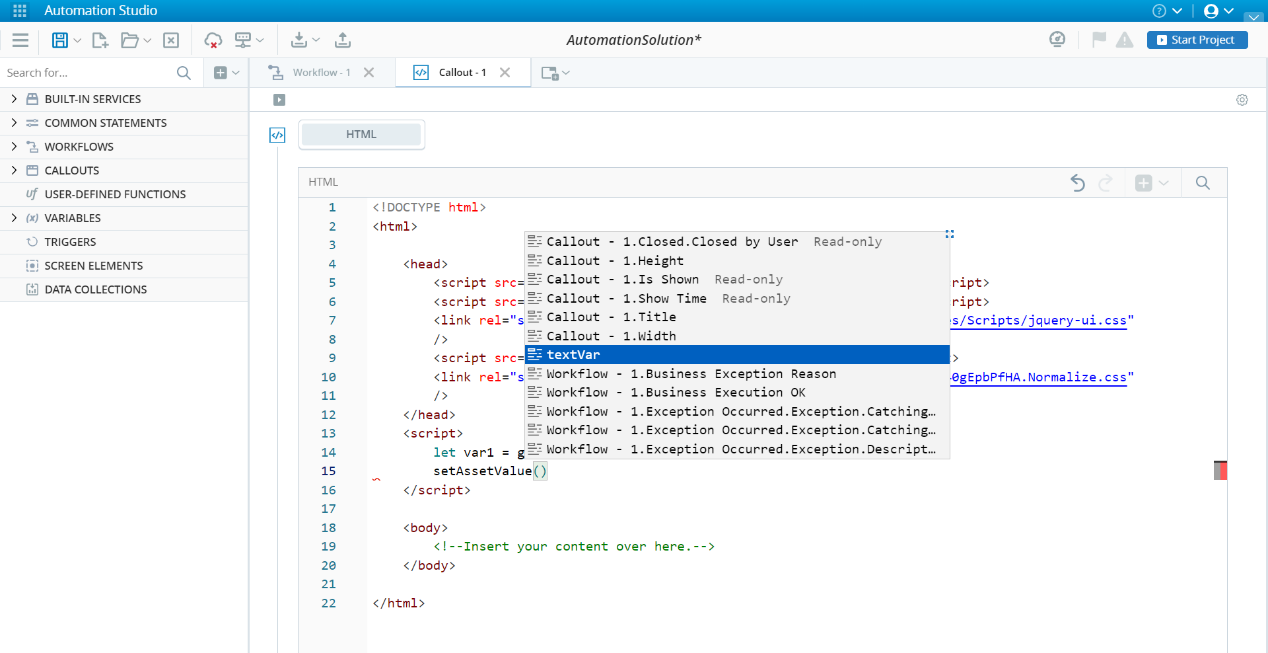
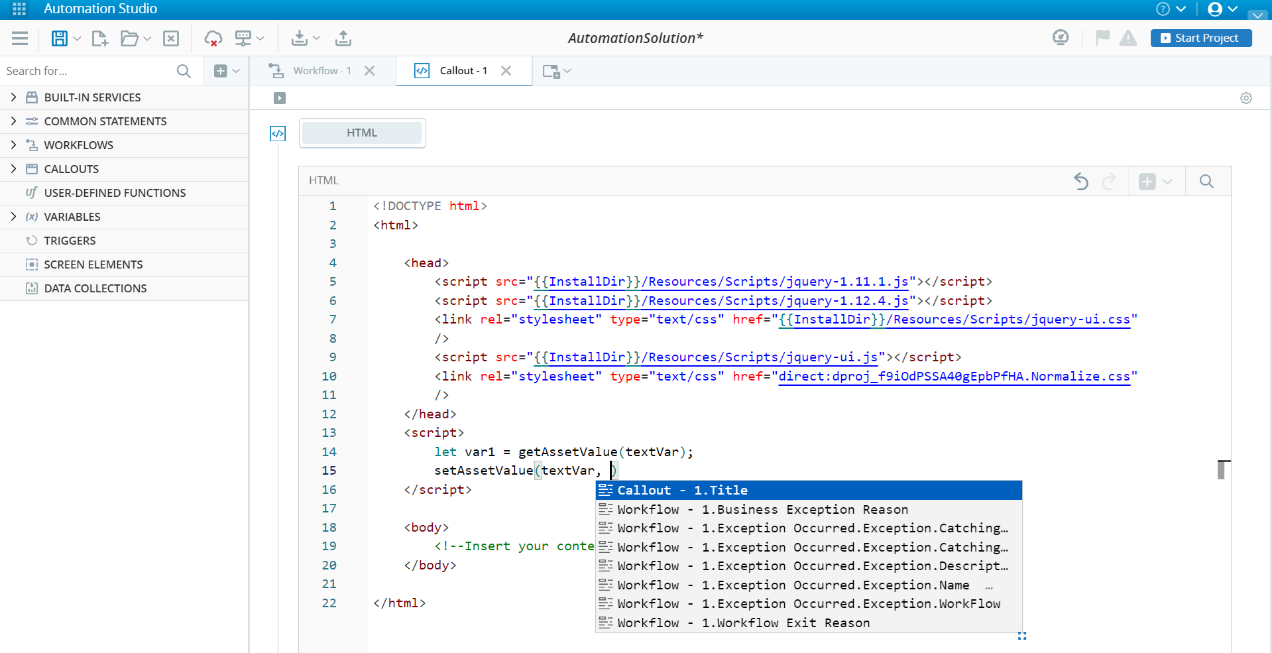
setAssetValue(): To set a value on the Asset Panel.
For example, use this function to update any Automation Studio Assets and their properties, such as Workflow, Callout, Screen Elements, Imported Packages, etc. It takes in two parameters.
Type the initial characters of a function name, and IntelliSense will display a list of relevant suggestions to help streamline your coding process.
After selecting a function name, IntelliSense will display a list of relevant assets from the current solution, enabling users to choose any of these options.
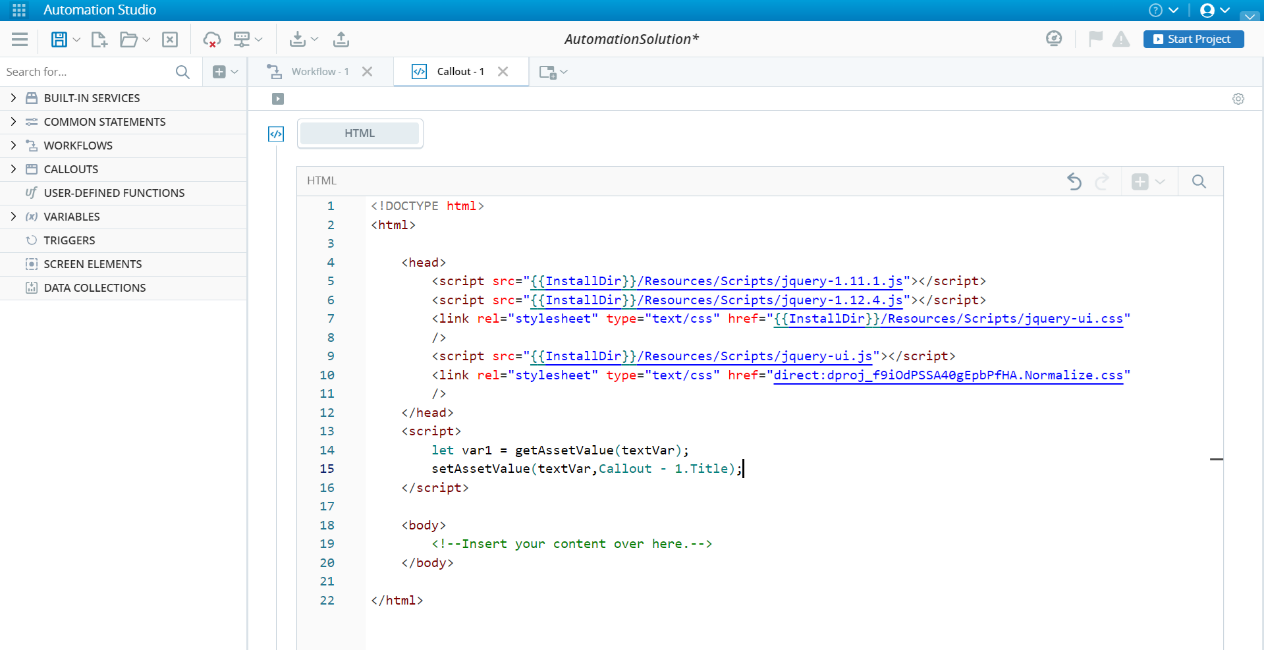
When working with functions with multiple parameters, IntelliSense will automatically populate a list of suggestions as you type a comma after each parameter. In the given example, Callout-1.Title is selected as one of the parameters.
After selecting the asset from the list, it will be shown as the function parameter.
-


-
Controls: The following controls are available:
-
Input: Select this option to insert the code for input value.
For example: <input type="" class="" id="" >Input</input> -
Button: Select this option to insert the code for a button.
For example: <button type="button" class="" id="">Click Me!</button> -
Checkbox: Select this option to insert the code for a checkbox.
For example: <input type="checkbox" class="" id="">CheckBox</input> -
Radio: Select this option to insert the code for a radio button.
For example: <input type="radio" class="" id="">Radio</input> -
Image: Select this option to insert the code for an image.
For example: <img src="url" alt="alt" class="" id=""> -
Text Area: Select this option to insert the code for text area.
For example: <textarea class="" id="">textarea</textarea> -
Dropdown: Select this option to insert the code for a dropdown.
For example: <select class="" id=""></select>
-
You can undo  , redo
  , search
  , and Find and Replace the code using the icons available at the top-right corner of the HTML Callout window.