

This topic explains how the administrator adds users to Automation Studio.
Types of Users in Automation Studio
There are two types of users in Automation Studio:
-
Administrators As part of the set up of your organization's Automation Studio tenant, NiCE creates one or more administrators. Administrators can access your organization's User Management portal where they can create new Automation Studio users. However, administrators cannot log in to and use Automation Studio themselves.
If an administrator requires user access to Automation Studio, they must create a new user with a different username than their administrator user.
-
Agent: Agents are those people in your organization who are authorized to log in to your organization's Automation Studio tenant to download, install, and then use Automation Studio. Agents cannot access the User Management portal and cannot add other new users.
Requirements
To add new users to Automation Studio, you will need:
-
An administrator username and password
This information will be provided by NiCE InContact support when your Automation Studio tenant is created.
Access the User Management Portal
-
In your web browser, navigate to the Automation Studio User Management portal (https://na1.nice-incontact.com/admin/#/userManagement).
-
Enter the username and password of an administrator user.
Note that the username has the format of an email address.
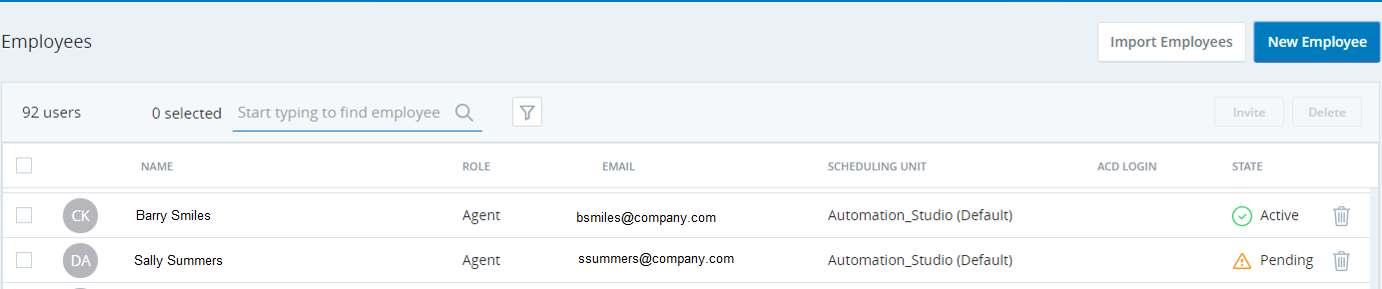
The Employees page is displayed. All registered users are listed.
From this page you can add users individually, or add multiple users by uploading a CSV file with their details.
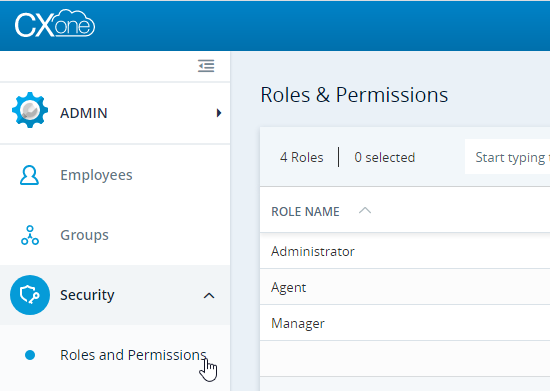
Verify Agent Role Privileges
-
On the Security page, click Roles and Permissions.
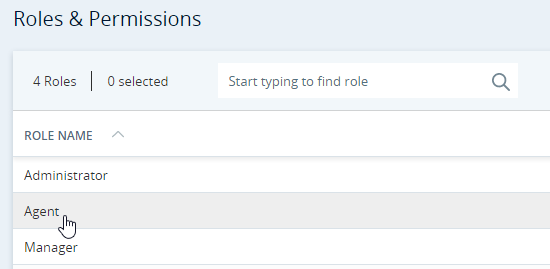
-
Click the Agent role.
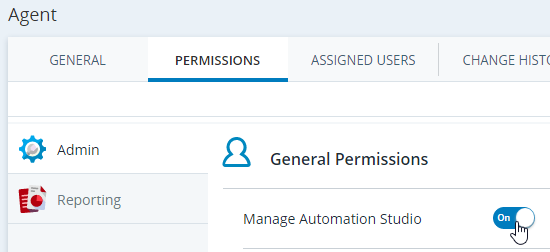
-
On the Permissions tab, ensure that Manage Automation Studio is set to On.
Add a Single User
-
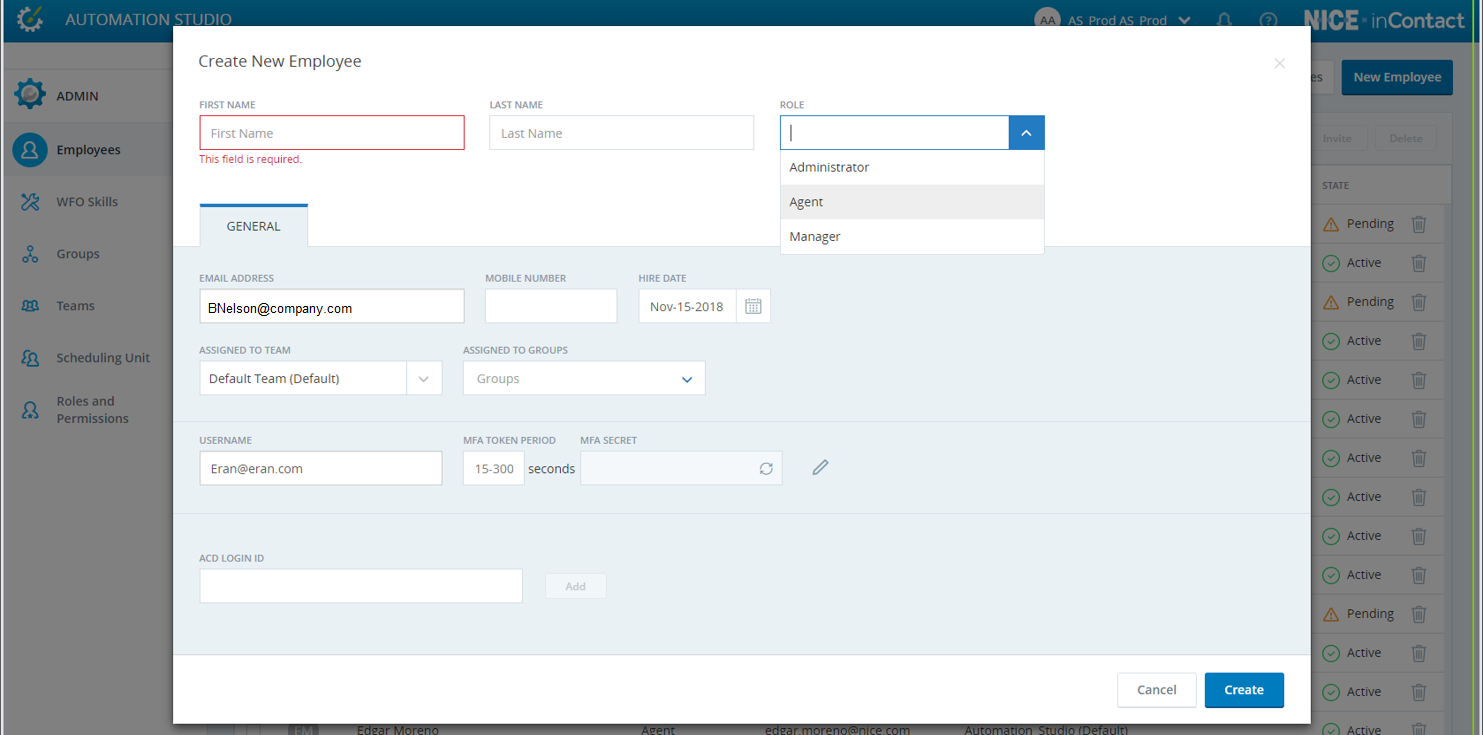
On the Employees page, click New Employee.
-
Enter the new user's First Name and Last Name.
-
Specify the user's Role.
To grant access to download, install, and use Automation Studio, set Role to Agent.
-
Enter the user's Email Address, typically their corporate email.
-
The user's Username defaults to the email address entered.
The username must be unique in your organization.
You can modify the username without modifying the email address.
To create an Agent user for an employee who already has an Administrator user, enter a username different than the username used for their Administrator user. The username must be in the format of an email address, but the email address does not have to exist.
-
Specify the remaining non-mandatory fields if required.
-
Click Create.
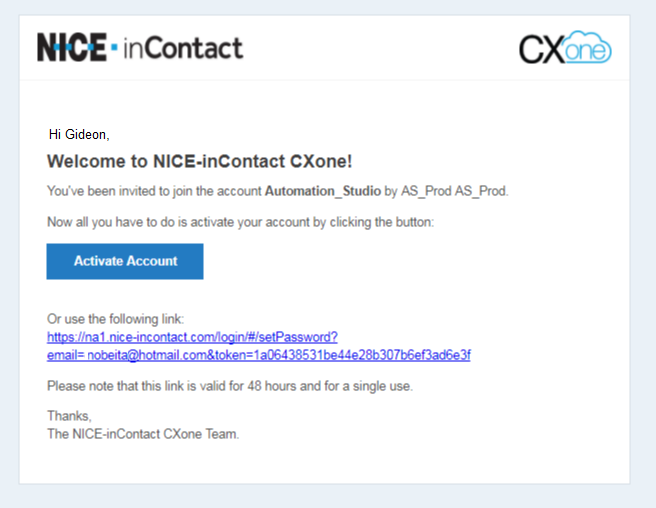
The user is sent an email that contains a link to activate their account and to start Install Automation Studio.
Import Multiple Users
-
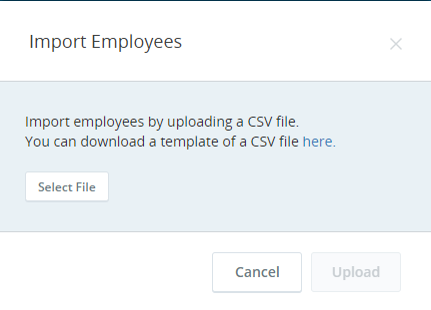
On the Employees page, click Import Employees to open the Import Employees window.
-
Download the template for the CSV file from the Import Employees window.
-
Prepare the CSV file for upload.
-
In the Import Employees window, click Select File, select the CSV file, and click Upload.
The new users are listed in the Employees page.
-
Click Invite to send an email to each of the new users.
The user is sent an email that contains a link to activate their account and to start Install Automation Studio.

Monitor and Manage User Invitations
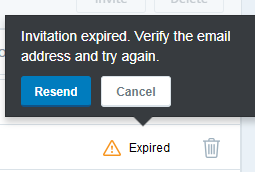
You can monitor the status of all user invitations sent. You can also resend an invitation that has expired.
Invitation statuses are as follows:
|
Status |
Description |
|---|---|
| Active | The user has activated their account. |
| Pending | The user has not activated their account. |
| Expired |
The user has not activated their account and the invitation has expired. To resend the invitation, click the status and then Resend. |