

When installing or upgrading Automation Studio, ensure the Automation Studio folder in the AppData directory is deleted. If it is still present, manually delete it before proceeding with the installation.
To utilize RTClient7.9.1 with Automation Studio, firstly, you must remove the previously installed RTClient 7.9, which came bundled with AS 7.9, and then install RTClient 7.9.1 in standalone mode.
On the Custom Settings dialog, do the following:
-
Clear the Activate Autoupdate check box.
-
Select the Do nothing windows startup option.
This topic provides instructions for installing Automation Studio.
For installation prerequisite information, see Prepare for Automation Studio Installation and Operation.
If you experience problems during or after installation, see Troubleshoot Installation.
To install Automation Studio:
-
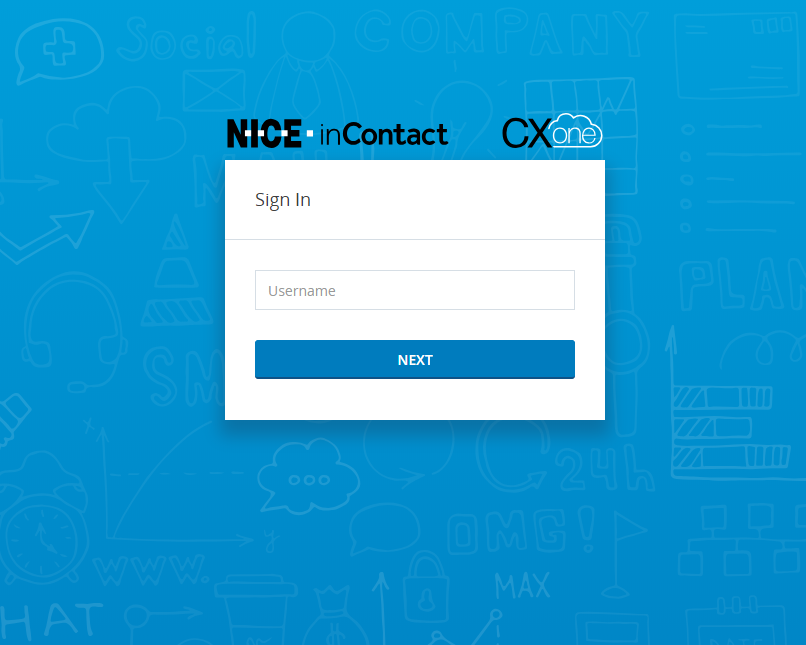
Using Chrome, browse to the Automation Studio webpage at https://na1.nice-incontact.com/as/.
-
Enter your Username and click Next.
-
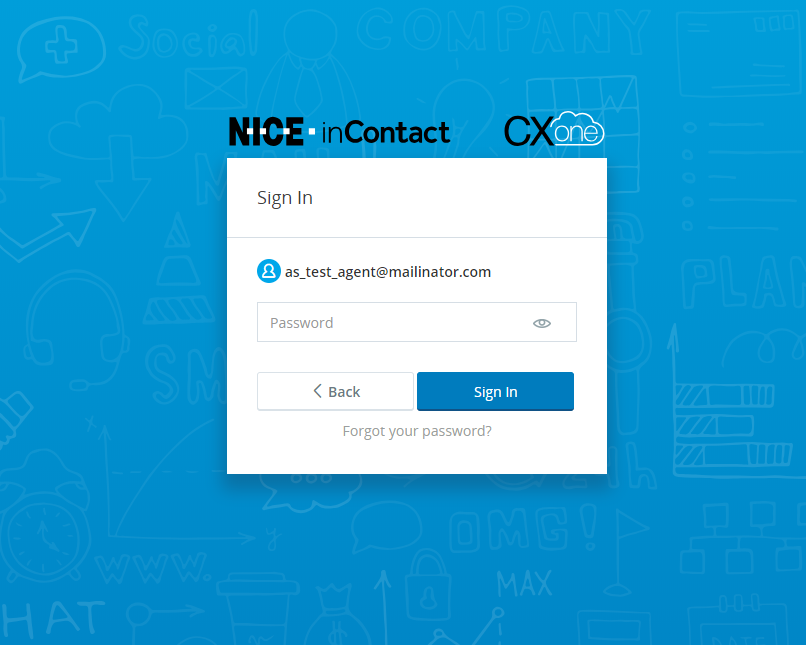
Enter your Password and click Sign in.
-
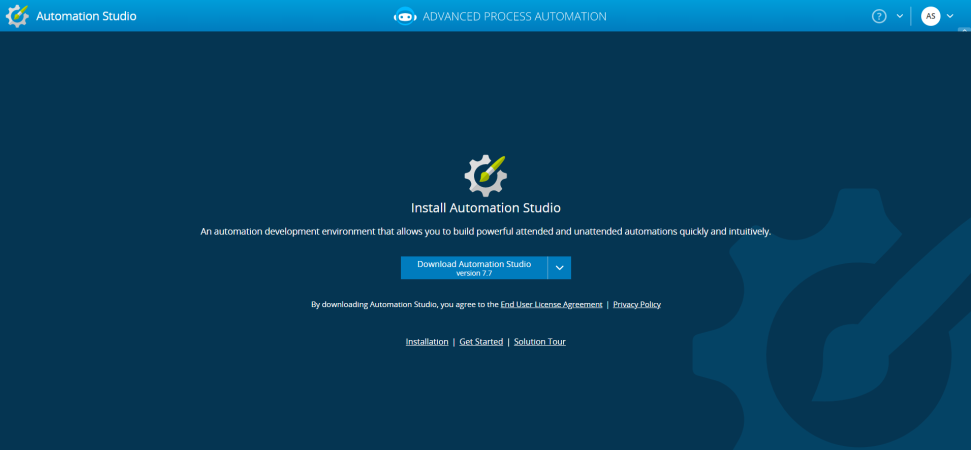
On the installation screen:
-
Review the End User License Agreement and Privacy Policy.
-
Select the required version of Automation Studio.
The Automation Studio installation file starts to download.
-
-
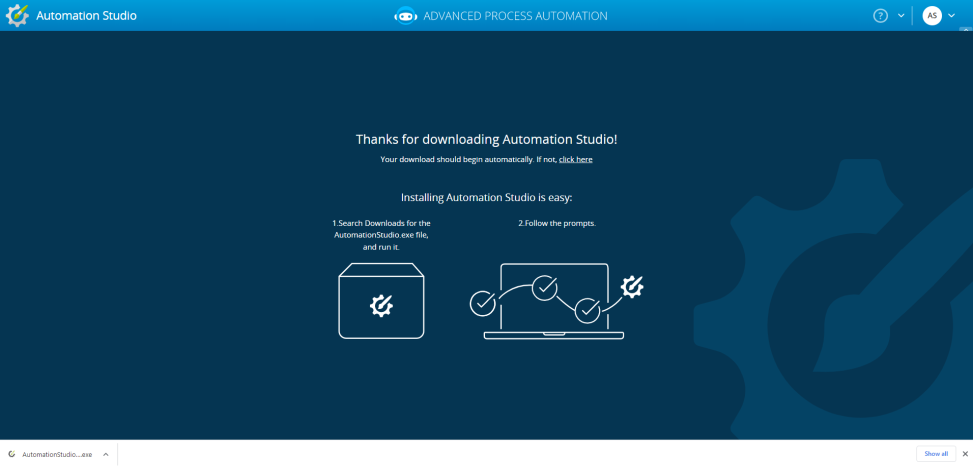
When the download completes, click the downloaded file at the bottom corner of your browser. Your operating system may require you to confirm the installation.
-
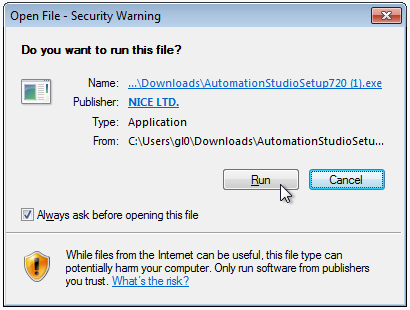
If you are shown this security message, click Run.
-
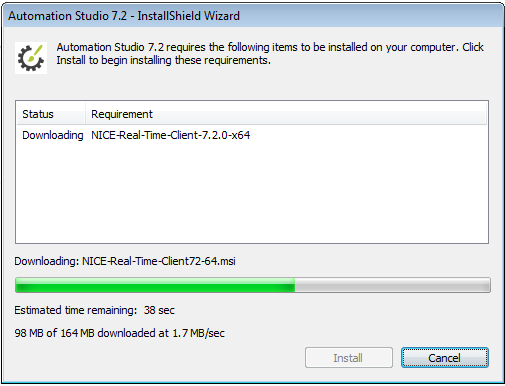
Click Install.
The installer downloads the required files.
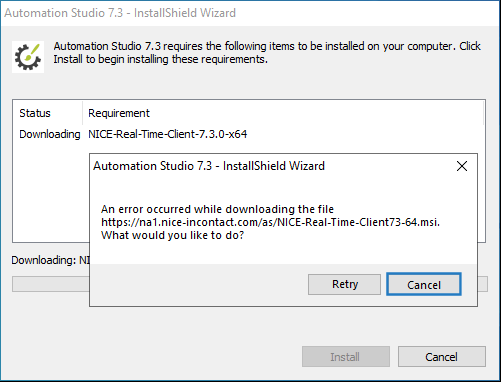
If an error occurs while downloading the NiCE Real-Time Client, cancel installation and run any outstanding Windows updates. Then try to install Automation Studio again.
-
During initial installation only, you may be asked to:
-
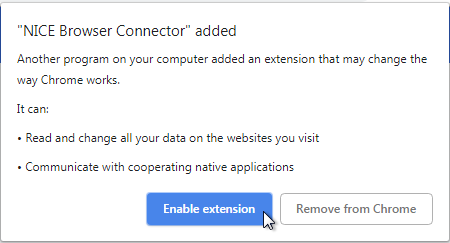
Install the NiCE Browser Connector. Click Enable extension.
-
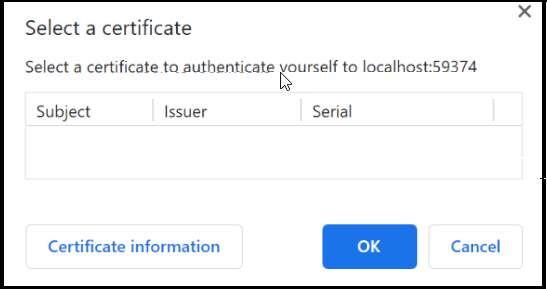
Select a certificate to allow communication between the browser and Automation Studio native through port localhost:59374. Click OK.
-
-
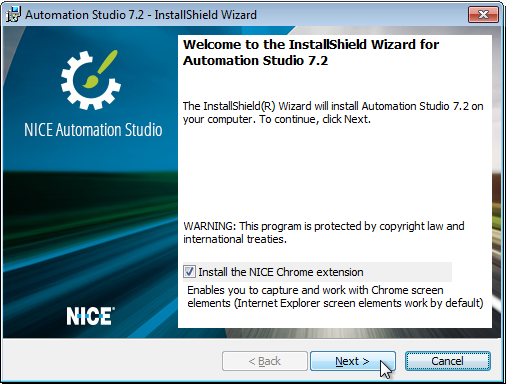
Select whether or not to Install the NiCE Chrome extension, and then click Next.
-
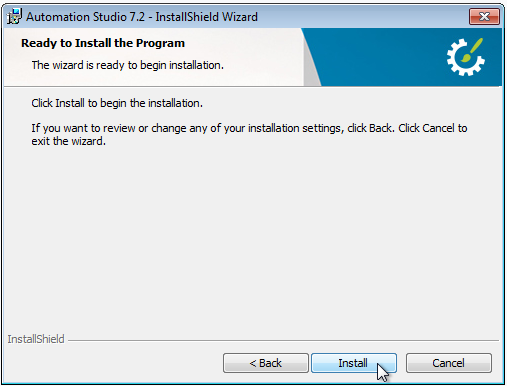
Click Install.
-
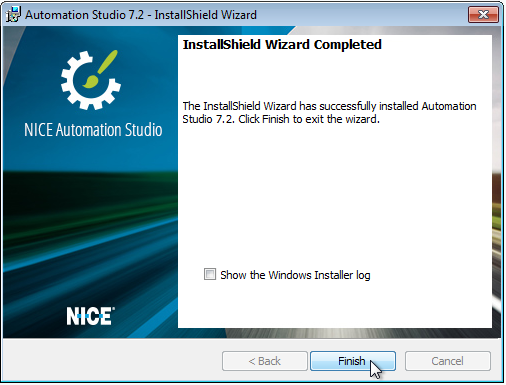
Click Finish.
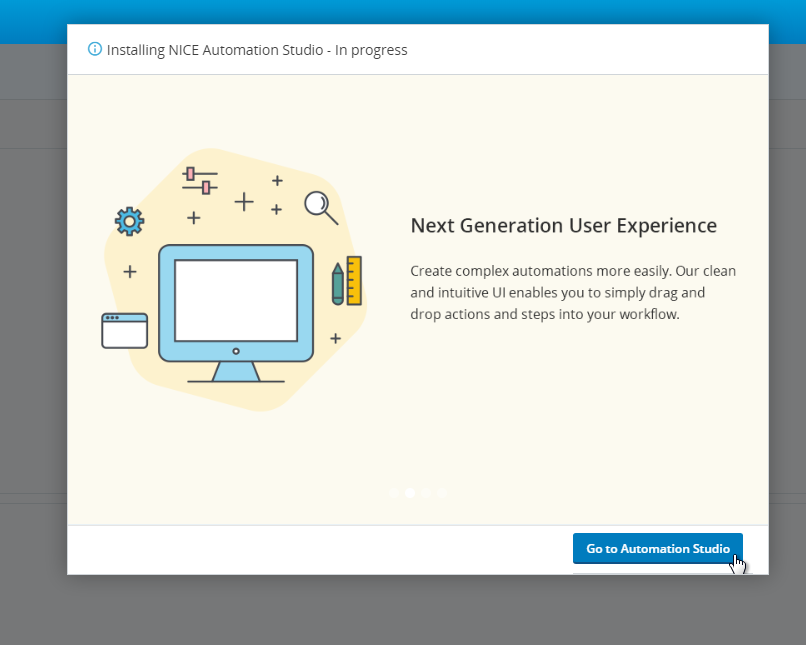
-
If Automation Studio does not open automatically, click Go to Automation Studio in the browser.
Clear your browser cache and restart services if you get the message that Automation Studio is open in another window. Then, try accessing Automation Studio again.
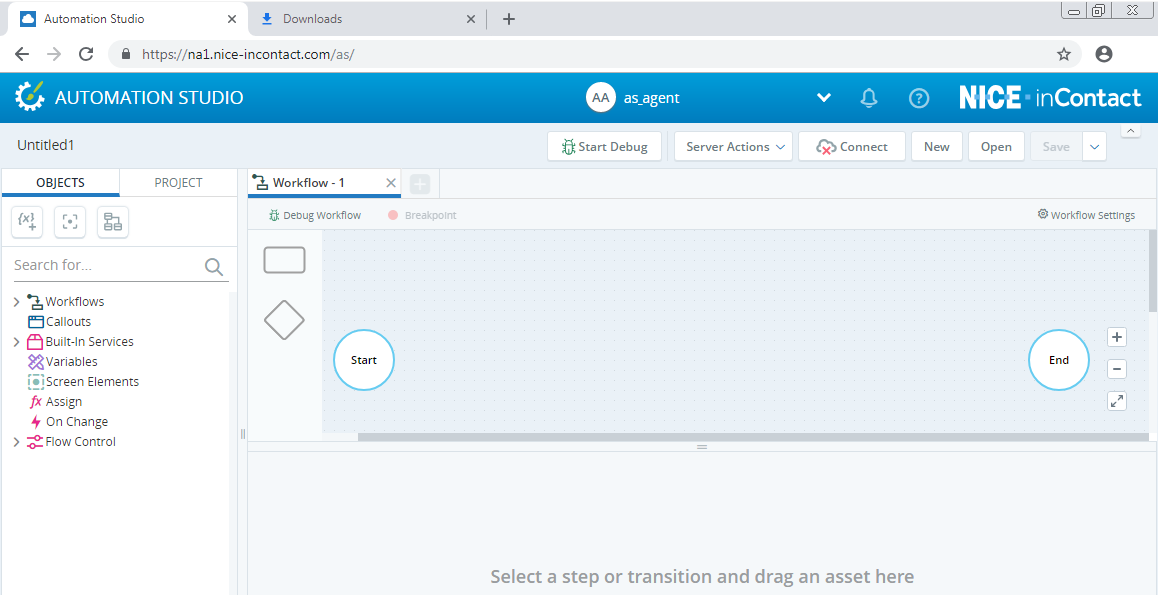
Automation Studio launches.

