Win32 Connector
(Available from version 7.0 onwards.)
Automation Studio is designed to provide powerful and reliable screen element capturing from applications that are based on Windows API technologies.
Connector Features
The built-in Win32 connector provides the following features:
-
Capture any Win32 object
-
Support for 32-bit and 64-bit architecture
- Multi instance support
Configure the Connector
No configuration is required for the Win32 connector. This connector is enabled by default.
Capture a Screen Element
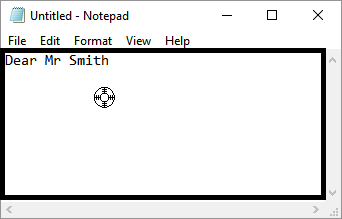
The procedure for capturing a Win32 object is the same as for all screen elements. See Capture a Screen Element.
Edit a Screen Element
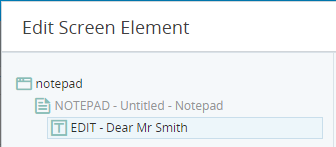
The Edit Screen Element window opens after capturing a screen element. This screen allows you to customize how the screen element is treated and identified. See Edit a Screen Element.
Information specific to Win32 objects is provided below.
Element Hierarchy
The element hierarchy for a captured Win32 object is as follows:
-
Root branch for the Win32 Process
-
Win32 Form element, which is the parent to the rest of the Win32 screen elements, including the captured screen element at the bottom of the hierarchy.
-
The Win32 screen element.
-
-
See View the Element Hierarchy.
Screen Element Types Supported
The screen element type values available differ between levels in the hierarchy.
|
Type |
Screen Element Types |
|---|---|
|
Win32 Screen Elements |
|
|
Win32 Form |
|
|
Win32 Process |
|
Recognition Properties Supported
The recognition properties available differ between levels in the hierarchy.
|
Property |
Description |
|---|---|
| My Window Class Name is | The name of the class to which the specified physical object belongs (for example, BUTTON). |
| My Window Children Count is | The number of child objects. |
| My Window Visibility is |
Identifies a window based on its visibility. When the window is visible, the physical object is recognized. When the window is hidden, the physical object is destroyed until the window becomes visible again. |
| My Window Relative Location is | Identifies a window based on the location of its parent window. The format for this property's value is YYYYXXXX, where YYYY indicates the Y offset and XXXX indicates the X offset (including a leading zero) from the parent window. For example, the 00640078 value (see the screenshot above) indicates that the window location has an offset of (0064,0078) from its parent window. |
| My Window Width is | Window width in pixels. |
| My Window Height is | Window height in pixels. |
| My Window Child Id is | The window ID. |
| My Window Z Order is |
The window position in a stack of overlapping windows. A window stack is oriented along an imaginary axis, the z-axis, extending outward from the screen. The window at the top of the z-order overlaps all other windows. The window at the bottom of the z-order is overlapped by all other windows. When an application creates a window, the system puts it at the top of the z-order for windows of the same type. You can change the z-order by activating a different window. The system positions the active window at the top of the z-order for windows of the same type. When a window comes to the top of z-order, so do its child windows. |
| My Window Class Z Order is | The class of the window’s position in a stack of overlapping windows. |
| My Window Name is | A window name where Win32 physical object is hosted. |
| My Window Accessible Name is |
Provides accessibility support. Accessibility support enables you to identify a given screen element and to activate its default action. For example, for a button, the default action is to click the button. This feature is ideal when you have a Win32 application that has a control whose functions you cannot invoke using standard Win32 functions (for example, GUI libraries in which vendors have implemented extensions to Win32 functionality by creating additional buttons). Custom buttons created in this manner may not support a Win32 click function, thus limiting Real-Time Designer's ability to recognize them as buttons. In such cases, you can use accessibility options to generate a click event, whereas otherwise you could not. |
| My Child Window Class Name is | Gets the name of the class, to which the child object belongs. |
| My Child Window Name is | Indicates having a child with specified name. |
| My Child Window Accessible Name is | Indicates having a child with specified accessible name. |
| My Child Window Child Id is | Indicates having a child with this ID. |
| My Child Window Children Count is | Indicates having a child with defined children count. |
|
Property |
Description |
|---|---|
| My Process Name is | The process name of the Win32 application in the process tree. You can use the Process Explorer utility (or the Windows Task Manager) to verify the name of the process. |
| My Process ID is | The ID issued by the operating system to uniquely identify an active process. For example, a text box control. |
| My Process Level is | The level of the process in the process tree. Enables you to handle scenarios where applications have more than one process on different levels. You can use the Process Explorer utility to verify the process level. |
| My Parent Process Name is | The name of the parent process (if such process exists). |
| My Parent Process Name is not | The name of the process, which can’t be a parent process (the process one level higher). |
Main Relation Type
The element's main relation type is displayed in the Edit Screen Element window, but cannot be changed.
This section is not displayed for the Win32 Process.
See Identify an Element's Main Relation Type.
Multi Instance Support
The Win32 connector provides support for multiple instances.
You can specify which instance of the application to relate to if multiple instance of the same application are open.
Multi instance support differs between levels in the hierarchy.
|
Type |
Multi Instance Support |
|---|---|
| Win32 Screen Element | Optional, inactive by default. |
|
Win32 Form |
Optional, inactive by default. |
|
Win32 Process |
Active by default, cannot be deactivated. |
See Set Multi Instance Behavior
Screen Element Assets
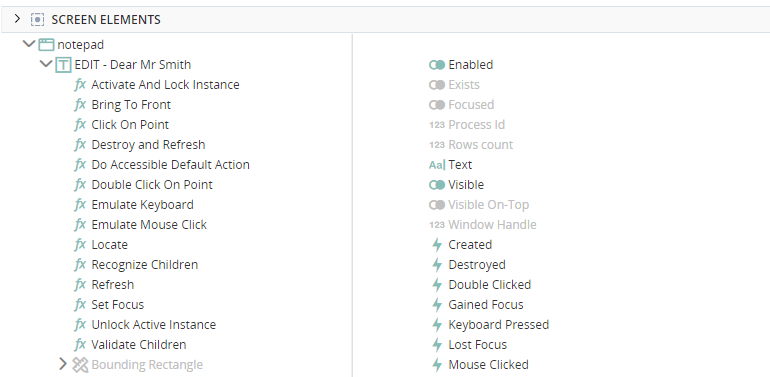
Each screen elements has its own properties, functions, and events. These are visible in the Assets Panel.
For information on screen element assets, see here.
Monitor Screen Elements in Debug Mode
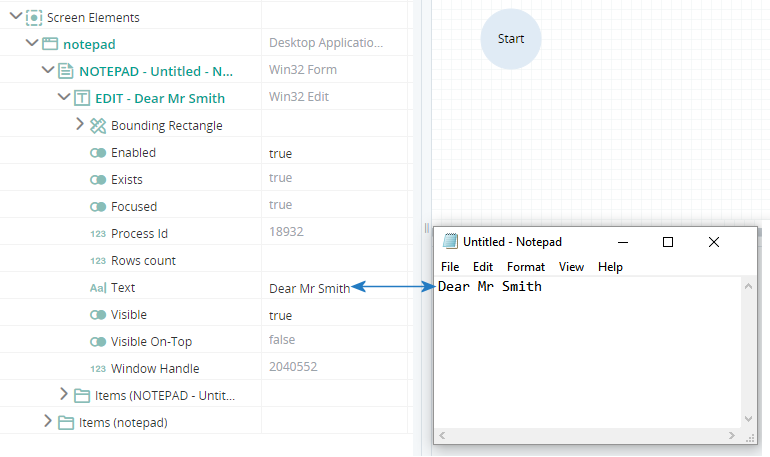
When in debug mode, you can view and modify the values of a screen element's properties.
For example, the text entered in the editing area can be viewed or modified during debug.


