Publish a Project
To share a workflow with users or robots, the project that contains the workflow must first be published to a Real-Time Server.
You can publish multiple versions of a project. Each time you republish a project you must assign it a new version number. The Real-Time Server stores all previously published versions.
If you publish a project that includes imported packages to a real-time server, those packages will automatically be uploaded to the real-time server together with your project. Clients that receive your project from the real-time server will automatically and seamlessly received the packages too.
To publish a project:
-
Verify that you are connected to the Real-Time Server to which you want to publish your project:
-
Verify that the Disconnect button
 is displayed.
 -
Roll over the Disconnect button and check that the connection details match those of the Real-Time Server you want to publish to.
If you are not connected to the required Real-Time Server, connect now. See Connect To a Real-Time Server.
-
-
Click the Server Actions button
 .
. -
Click Publish Project.
If you have not saved your project, you will be asked if you want to save it.
-
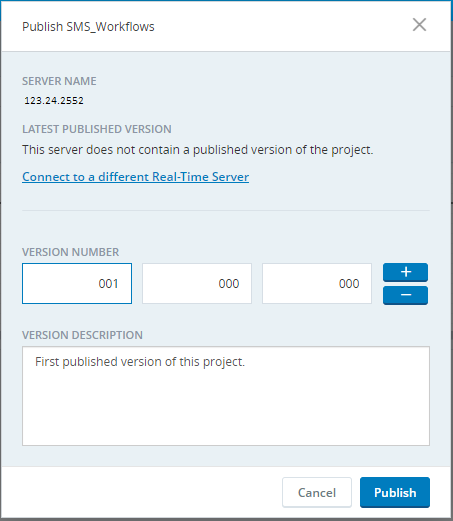
Enter a Version Number for your project. If you have previously published your project, you must assign a new version number as you cannot overwrite an existing version.
Similarly, if you attempt to publish a backup copy, you must publish it with a different version number than any original published version or any published backup version. We recommend against publishing backup copies.
After deleting the published solution from the platform, the user cannot publish the solution of the same version from the Studio.
-
Optionally, enter a Version Description.
-
Click Publish.
-
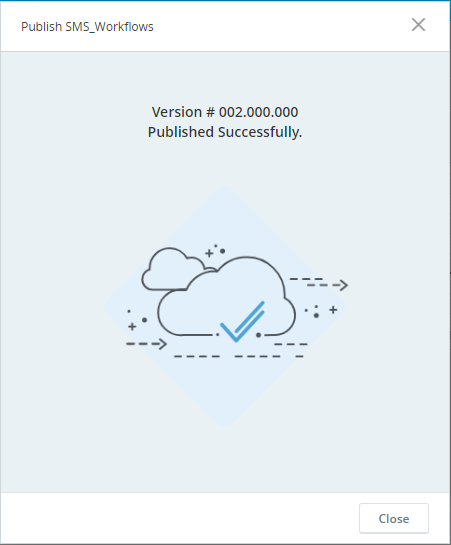
Close the Published Successfully message.
The workflow can now be consumed from the Real-Time Server.


