Create a Robotic Workflow
This topic explains how to set up a workflow to be used as a robotic workflow in an automation solution.
For an overview of the use of robotic workflows, see here.
The process of creating a robotic workflow is as follows:
A video demonstration of this process is available here.
Configure a Robotic Workflow's Input Parameters
If the robotic workflow requires input parameters, those must be configured before they can be referenced in the robotic workflow itself.
This step is not necessary if the robotic workflow does not require input parameters.
To configure robotic workflow input parameters :
-
Create a new workflow.
-
Click Settings
 in the top-right corner of the canvas.
 -
Click Input Parameters.
-
Specify the Name and Type of the input parameter.
-
Click
 to add another input parameter, or
  to remove an input parameter.
These parameters will be listed in the Assets Panel, under the workflow's Parameters group.
-
Click Save.
Configure a Workflow for Execution by Robots
A workflow must be configured to function as a robotic workflow before it can be published to a robotic server and then consumed.
Note that workflow execution status information cannot be displayed in the Automation Portal for a robotic workflow.
To configure a workflow for execution by robots:
-
If the Workflow Settings window is not already open:
-
Open the robotic workflow.
-
Click Settings
 in the top-right corner of the canvas.
-
-
Under Options, check Make the workflow available for execution by robots.
-
If you want robots to reattempt to run the robotic workflow if it fails, check Workflow should be re-executed on failure.
-
Click Save.
Publish a Robotic Workflow
To share a workflow with users or robots, the project that contains the workflow must first be published to a Real-Time Server.
You can publish multiple versions of a project. Each time you republish a project you must assign it a new version number. The Real-Time Server stores all previously published versions.
If you publish a project that includes imported packages to a real-time server, those packages will automatically be uploaded to the real-time server together with your project. Clients that receive your project from the real-time server will automatically and seamlessly received the packages too.
To publish a project:
-
Verify that you are connected to the Real-Time Server to which you want to publish your project:
-
Verify that the Disconnect button
 is displayed.
 -
Roll over the Disconnect button and check that the connection details match those of the Real-Time Server you want to publish to.
If you are not connected to the required Real-Time Server, connect now. See Connect To a Real-Time Server.
-
-
Click the Server Actions button
 .
. -
Click Publish Project.
If you have not saved your project, you will be asked if you want to save it.
-
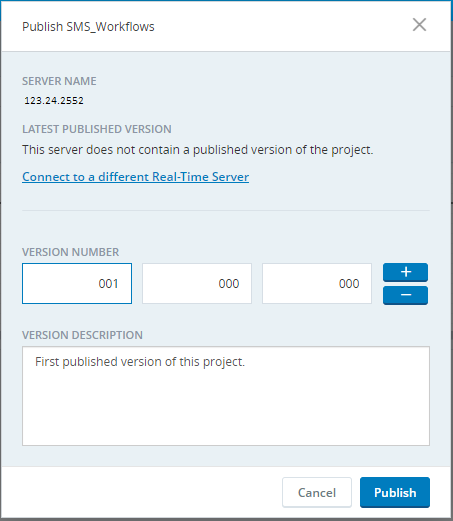
Enter a Version Number for your project. If you have previously published your project, you must assign a new version number as you cannot overwrite an existing version.
Similarly, if you attempt to publish a backup copy, you must publish it with a different version number than any original published version or any published backup version. We recommend against publishing backup copies.
After deleting the published solution from the platform, the user cannot publish the solution of the same version from the Studio.
-
Optionally, enter a Version Description.
-
Click Publish.
-
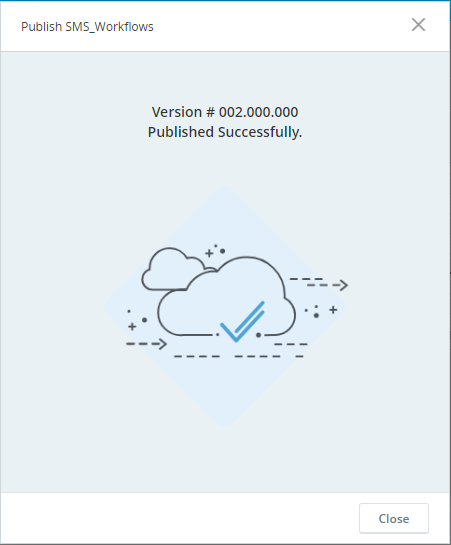
Close the Published Successfully message.
The workflow can now be consumed from the Real-Time Server.
Best Practices
Note the following best practices:
Although the robotic workflow will be published to a Real-Time Server and then invoked from another project, it is useful to create a simple testing workflow within the same project as the robotic workflow.
The testing workflow should invoke the robotic workflow and provide test parameter values, as needed.
In this way, you can test that the robotic workflow works as expected from within Automation Studio.
Note that the testing workflow should not be configured as a robotic workflow.


